
Good bye black and white sink....hello cream sink! I just want to say that my dream sink and vanity would look something like this, but sadly my in laws weren't tossing that out! I'm pretty sure there's a saying that would be perfect for this circumstance. Something like- Beggars can't be choosers! -OR- Don't look the gift horse in the mouth!
 |
Ryan disconnected the plumbing from the old sink and easily lifted the sink off of the vanity. The reason it was so easy to lift off, was because the sink wasn't even attached to the vanity! That makes me feel pretty safe, considering my kids are constantly on the vanity trying to look into the mirror.

Ryan laid the new sink on the vanity to make sure it fit. I told him it was going to work no matter if it fit or not! He then put some heavy duty glue (not sure the actual name, but you could probably google for directions) on the vanity and placed the sink back on the vanity.
 |
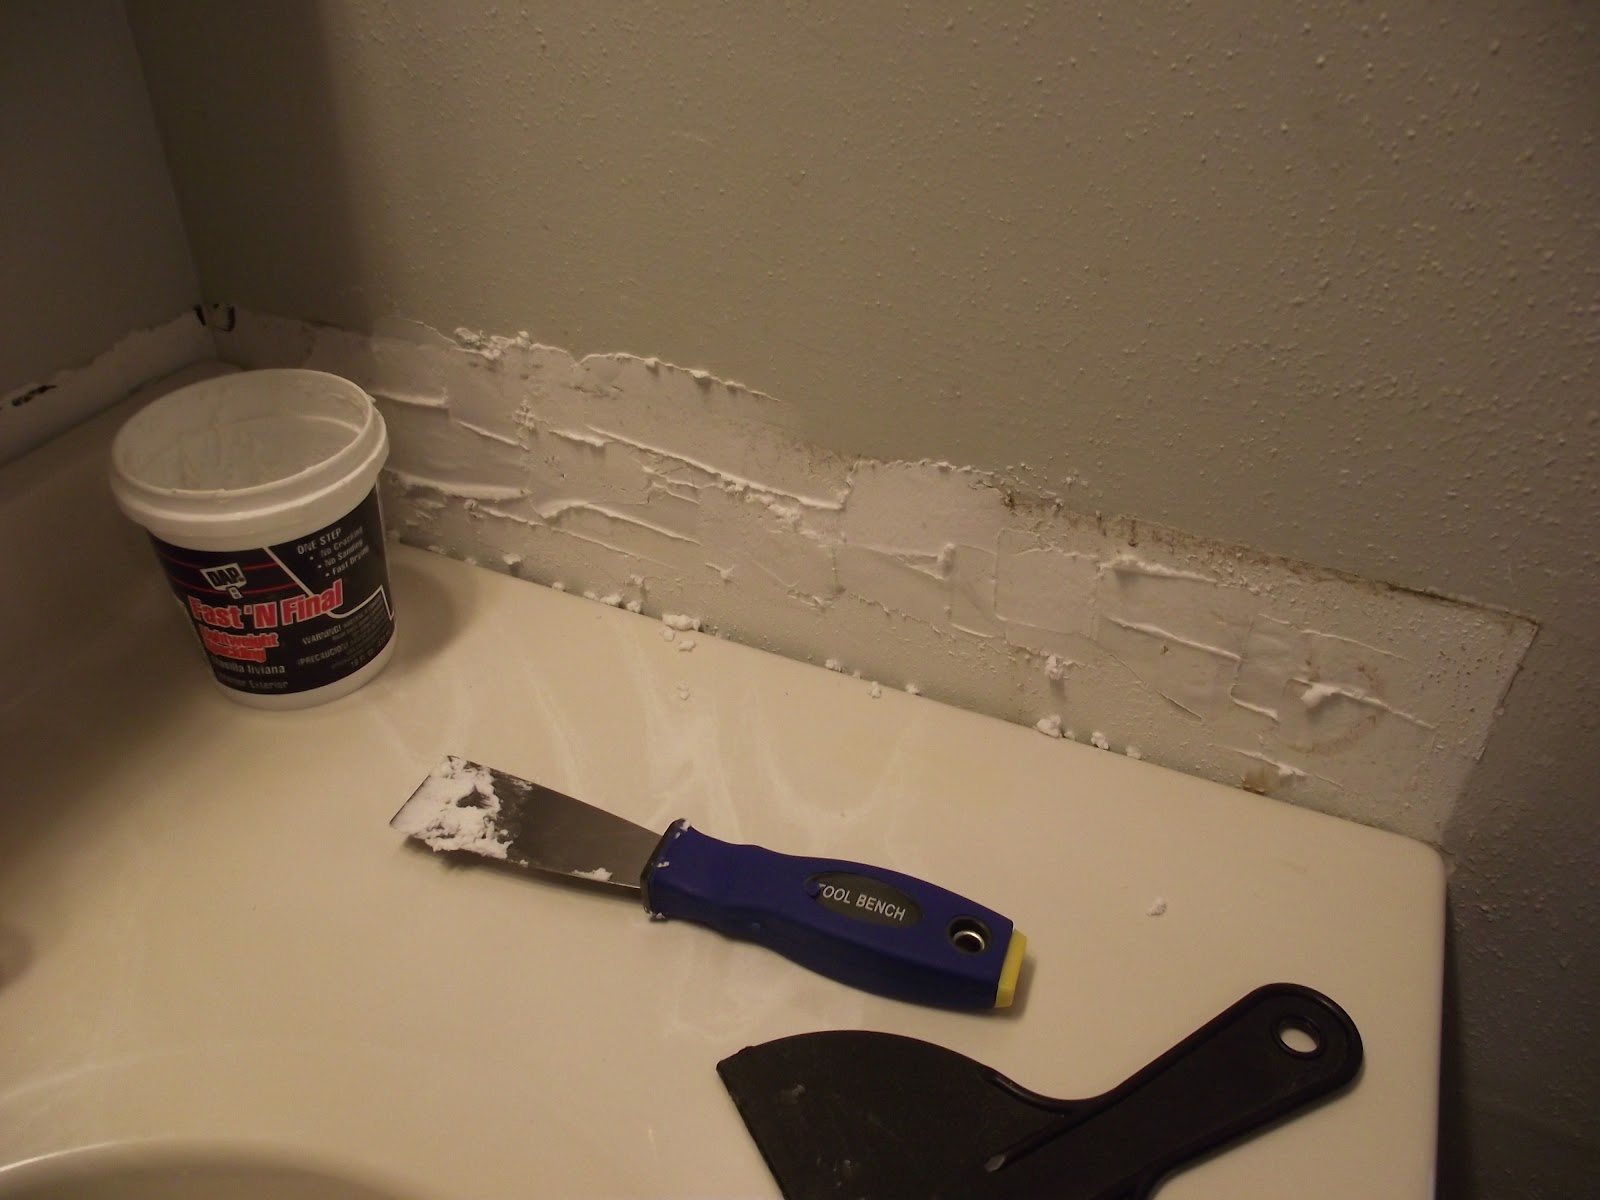
| Notice that the new sink is small than the old sink! Nothing a little spackling and paint can't fix! |

Once it was all installed, it was my turn to caulk around the sink and fix the torn wall. Ryan says he's not very good at it, so it got left to me. I'll take the caulking any day over replacing a floor! Make sure you choose the correct type of caulk. Not every kind is paintable or suitable for wet areas.
 |
| After it dries, you can use a razor to scrape off any extra that got onto your sink. |
I think that caulking is pretty easy. I always cut the caulk tube at an angle and just start squeezing. I then run my finger over the caulk line, until it's smooth and level. Sometimes, it takes a few tries to get it looking just right. You also have to make sure that none of your kiddos comes along and pokes their little fingers into the caulk. We've had that happen multiple times!
 |
| Get a little gooey and spread out the caulk! |
 |
| Make sure the finished product is smooth and level. |
 |
| Tools of the trade. You can get these at the Dollar Tree! |


No comments:
Post a Comment
Thank you for taking a look at my blog and leaving a message!